The last time I wrote about screencasting, I focused on what I look for in a good screencasting tool. This post focuses more on how to get the most out of the various ways you might use a screencasting application, like Screencast-O-Matic.
Kilickaya (2016) provides this definition of screencasting:
A digital recording of the computer screen output, including audio narration, which was first implemented in order to show learners how to use computer software through demonstrations. Since then, it has also been used in educational contexts e.g. to deliver lectures and to provide feedback.”
Below are some ways you can get better use out of a screencasting application.
Flipped Classes
When implementing a flipped class or blended learning teaching approach, screencasting can be an effective way to create whatever videos you might choose to use. Videos are not the only assets to include in a flipped classroom, but can be one way of conveying information.
When creating a screencast that revolves more around how to perform a task, have the theory and background contained in a separate video, or as text. Consider including a list of steps separate from the video to make it easier for students to complete the actions.
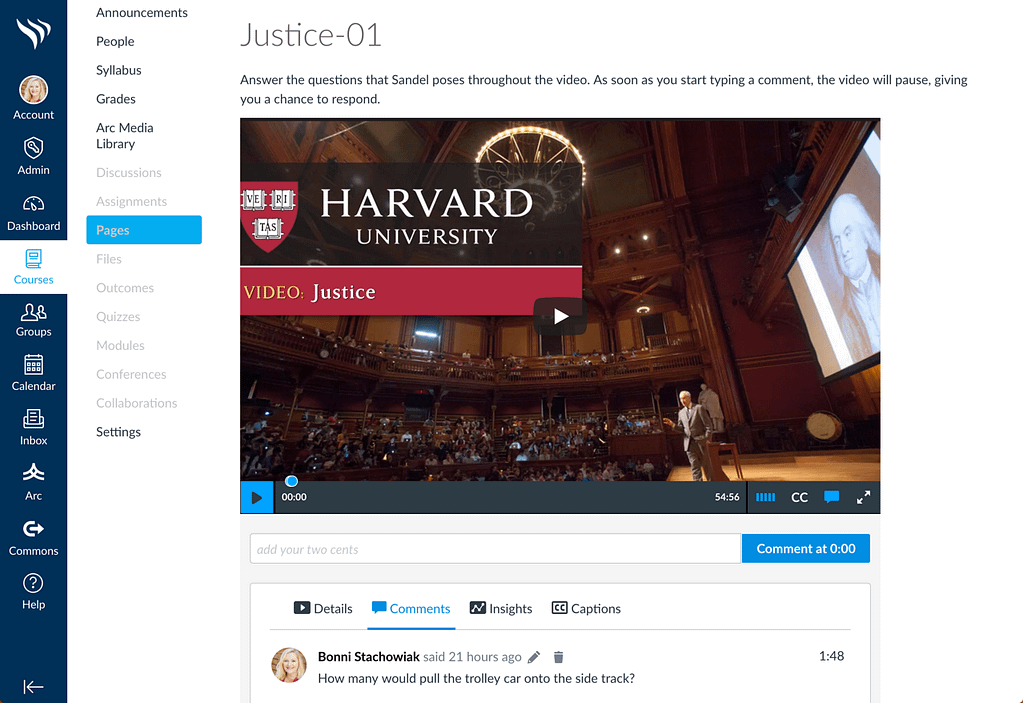
Include opportunities for students to engage beyond simply watching the video. The maker of the Canvas LMS now offers their streaming video service, Arc. One of my favorite parts of Arc is how students can comment in real time right below the video as they are watching it.
Other ways to engage students after watching a short video is to have them:
- Submit a screenshot or other means for demonstrating that they completed the task
- Write short, answers to reflective questions
- Take a short quiz.
Be sure that whatever activity you have them complete aligns with what you intended that they take away from having watched the video. In one study, 70% of students stated that they preferred screencasts that had opportunities to answer questions, while 95% of them said that answering questions improved their recall (Snyder, Besozzi, Paska, & Oppenlander, 2016).
A few other resources to help you in creating videos for your classes (screencasted, or not) include:
- How to Create a Video for A Class
- Creating Authentic and Explanatory Videos
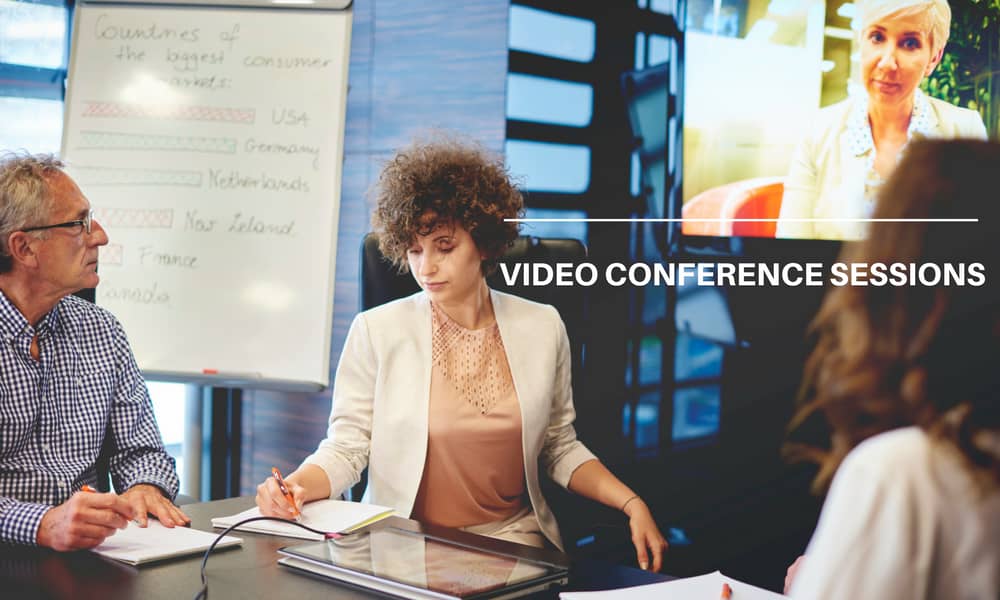
- Hosting or Participating in Video Conferencing Sessions
That last link talks more about video conference sessions (that happen at a particular time), but much of it gives advice that also applies to screencasting.
Feedback
Another vital way to use screencasting is in providing feedback to learners. Faculty can provide a greater quantity of responses to students via screencasting, as compared to written feedback (Kiliskaya, 2016). Students are also able to pause, replay, and rewind the video, in order to more fully absorb the information being provided.
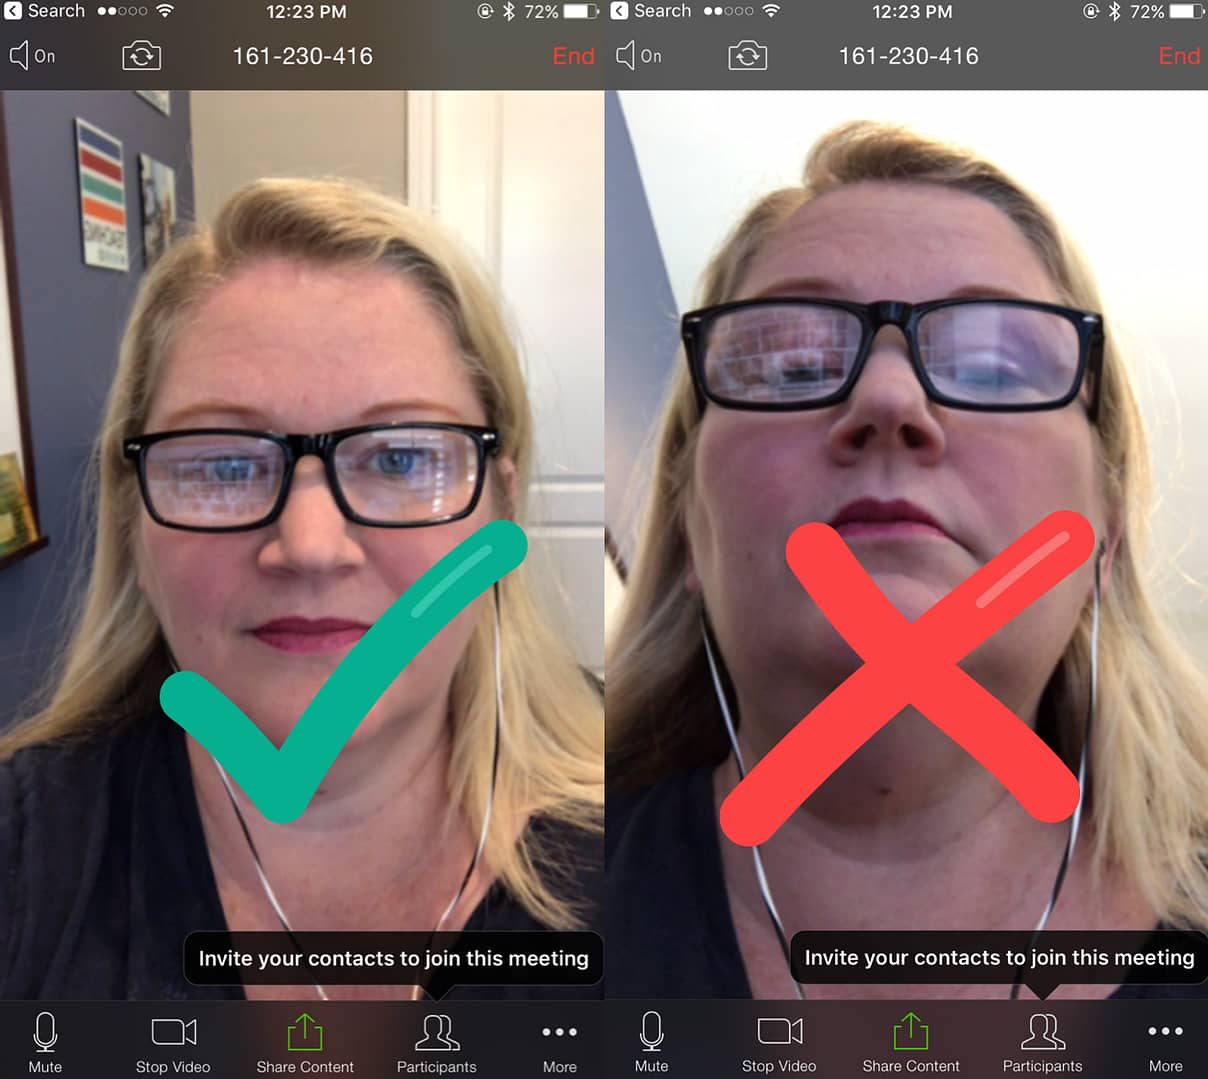
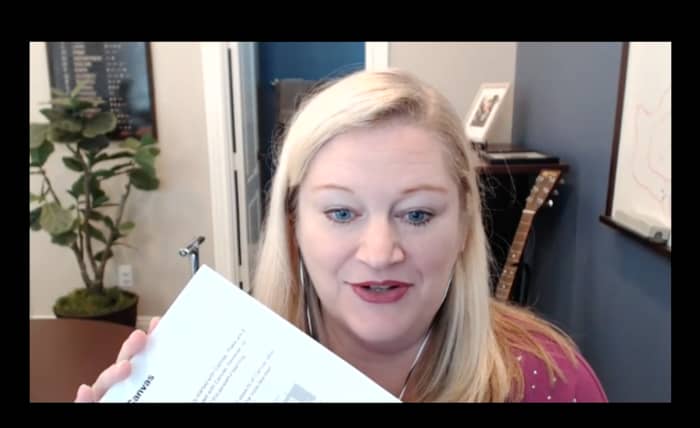
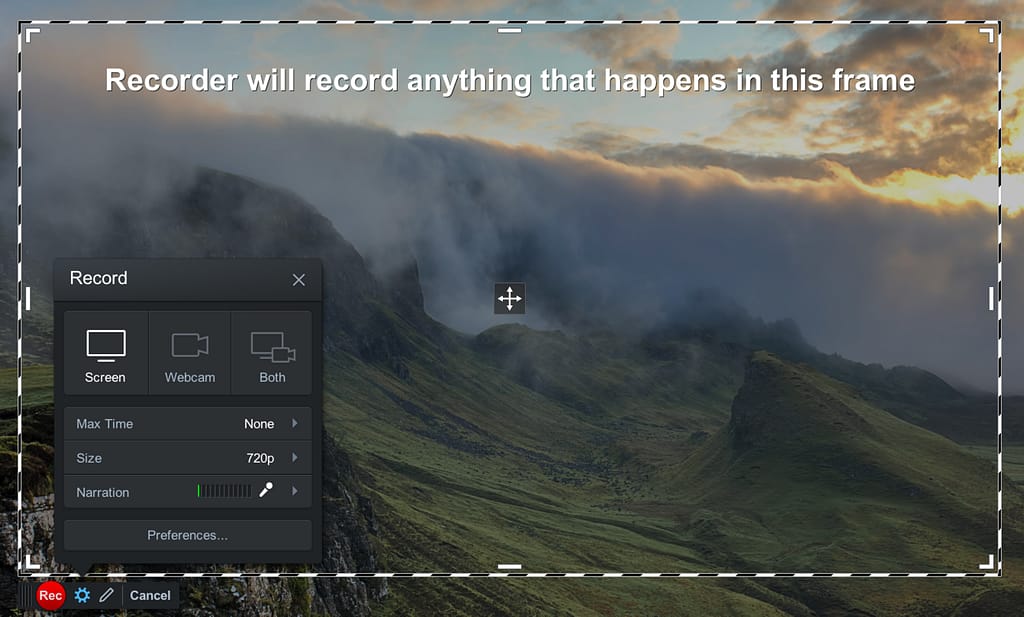
I like how Screencast-O-Matic and some of the other screencasting applications allow me to switch the video from showing the work I am providing feedback on (a paper, a blog/website, or an infographic, for example) to being able to show my face (along with my facial expressions and other visual cues that can be missed through written feedback, alone).

With Screencast-O-Matic, I can also “Zoom in/out, add text, draw freehand, or add drawing objects during recording,” along with the ability to edit my video before publishing it. My suggestion is that you not allow yourself to do too much editing, however, or you will lose the advantage that screencasted feedback provides, along with not having as authentic videos.
Your Turn
What advice do you have for people who are trying to use screencasting in their teaching most effectively?
References
Galligan, L., Hobohm, C., & Mathematics Education Research Group of, A. (2013). Students Using Digital Technologies to Produce Screencasts That Support Learning in Mathematics. Mathematics Education Research Group Of Australasia.
Kilickaya, F. (2016). Use of screencasting for delivering lectures and providing feedback in educational contexts: Issues and implications. In M. Marczak & J. Krajka (Eds.), CALL for openness (pp. 73-90). New York: Peter Lang.
Snyder, C., Besozzi, D., Paska, L., & Oppenlander, J. (2016). Is Flipping Worth the Fuss: A Mixed Methods Case Study of Screencasting in the Social Studies Classroom Authors. American Secondary Education, 45(1), 28-45.
Sponsorship
This blog post is part of a partnership between Screencast-O-Matic and Teaching in Higher Ed. I have received compensation as a part of this arrangement. However, I only recommend tools that I use in my own teaching and would have suggested you give them a try, regardless of any kind of formal agreement. After giving Screencast-O-Matic a try in recent weeks, I purchased a 3-year pro membership out of my own funds, I found it so easy to use.

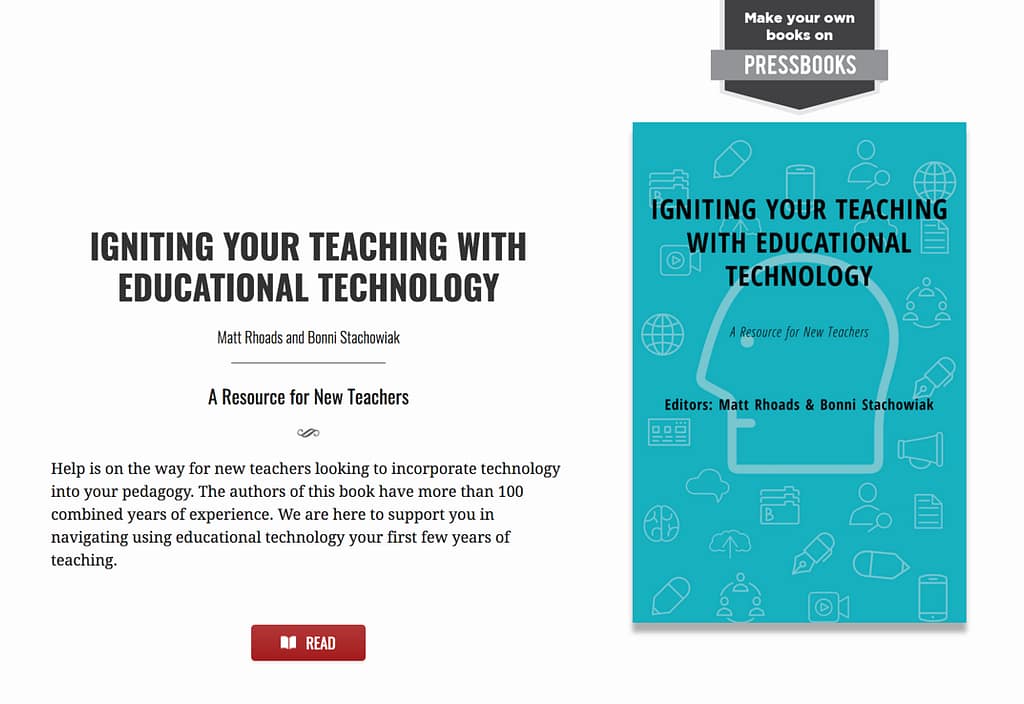 By the time our final meeting rolled around, we had written an 80-page open textbook entitled:
 Google Team Drive – The doctoral cohort had already established a Google Team Drive that they had used to coordinate some of the logistics of their recent trip to Washington DC. I had only ever created shared folders on Google Drive in the past and now see the huge benefits of having a shared Team Drive for projects like this. That way, each time you create a new folder or add new information, you don’t have to worry about reinventing your group to the newly created content.
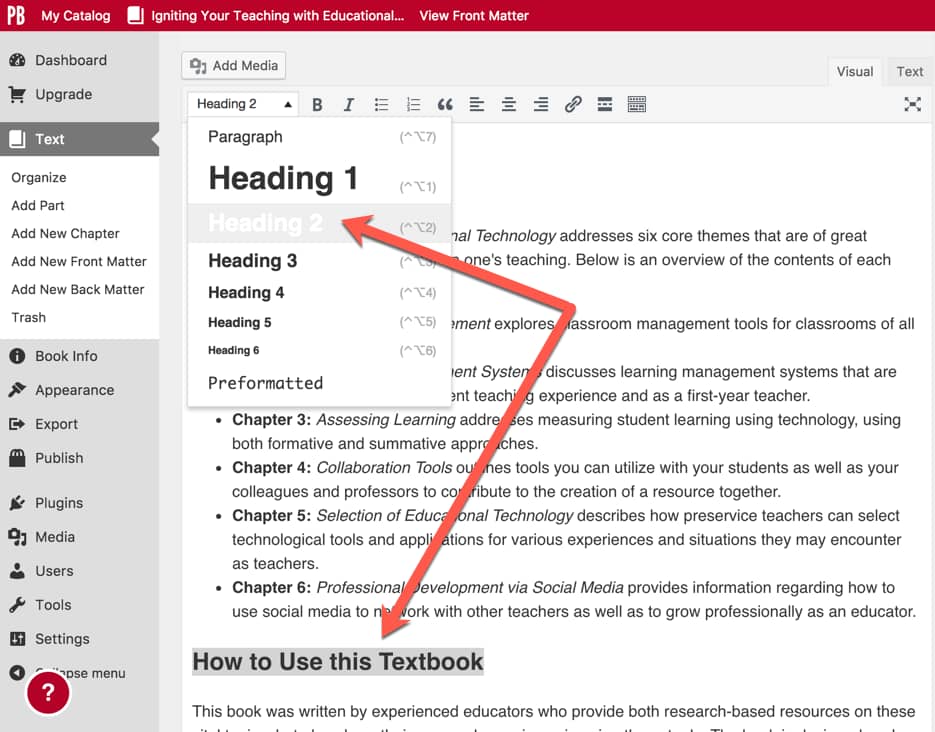 Then, copy and paste the text from the text editor into