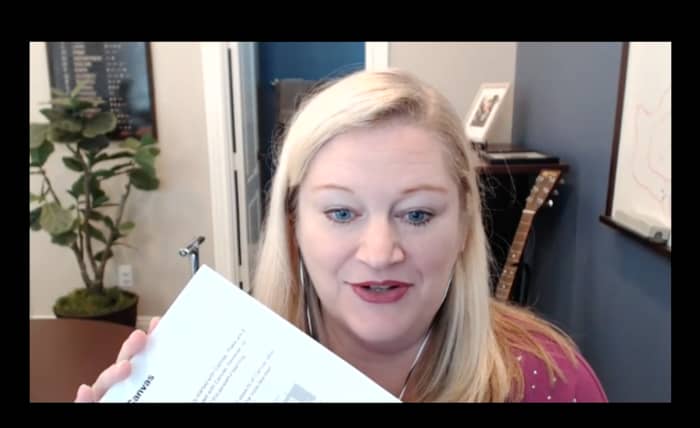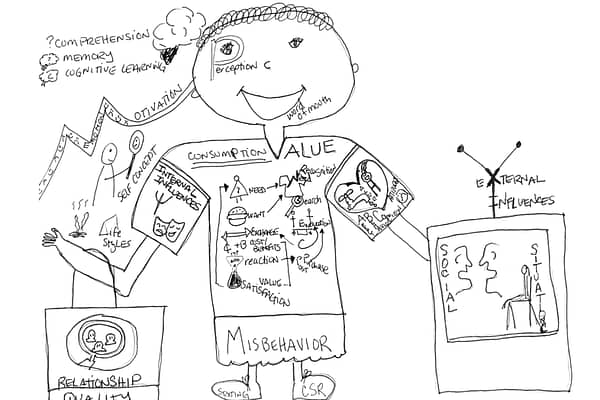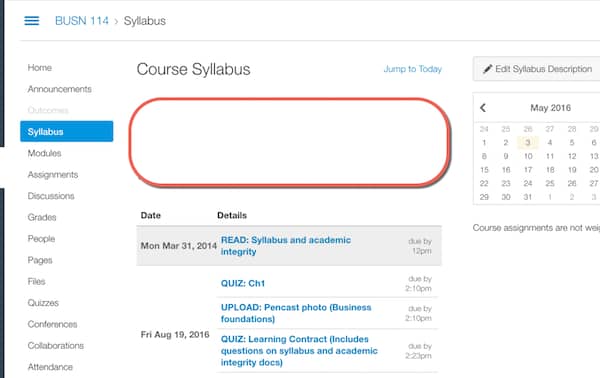
I have been talking often about the learning management system (LMS), Canvas, these past few days. We are switching over to it for the coming academic year, which, according to my calculations, starts in about two and a half seconds.
One of the many features I appreciate about it is how easy it is to record a video of yourself. Within their universal text editor, you have the potential to use video feedback when evaluating a student's work, send along a video as a part of an announcement, or even just create one for a course page.
In a recent workshop I was giving, I was stopped dead in my tracks by one of the participant's comments. “I could never do that,” she said, in reference to spontaneously creating a video of herself for some portion of her course.
I had been focused on how technically easy it is for us to now create video for our courses. It hadn't occurred to me that the struggle wasn't about to end there for some people.
8 Recommendations for Making Videos
In case that resonates with any of you, I offer you eight things to consider when making a video for your class.
Start simple
Videos can get very complex to create. One of my favorite examples of this is Common Craft. They have evolved their business model now, but when they used to make custom videos for clients, they would charge $10,000 to create a 3-4 minute piece.
Scripts needed to be written, graphics needed to be created, and I can only imagine the maintenance it took to get the hand that placed the images in and out of the frame looking that good.
When creating a video for one of your classes, don't start with the idea of creating a magnificent work of art. Instead, think about having a conversation with your class and inviting them to engage in your course in another way, besides reading text.
Use Bullets to Organize Your Thoughts
While you may decide to provide a transcript of your video, I don't recommend reading from a script, as you're creating it. Even the greatest orators make it obvious to us when they're reading off a teleprompter.
Create a list of a few bullets you want to address and use that as your guide. Consider that even if you wind up forgetting to say something, no one will be the wiser (unless you tell them). You can always include additional information in text form, that you use to accompany the video.
Consider having one core story, statistic, or anecdote to use in your video, as a means for generating interest.
Look at your web cam
One thing effective presenters do is make eye contact with various people during their talk. It's the same thing when you're recording a video, except your method of eye contact is going to be through you looking at your web cam, not at your computer screen.
This takes some getting used to, but is worth practicing, for the effect it produces.
Record for the ears and the eyes
My belief is that we should keep things simple when creating videos for our classes. But, one place worth paying close attention to is your sound and video quality. You want good picture quality coming from your web cam, as well as high audio quality that either gets captured from your web cam, or another external device.
The web cam we have heard recommended more than any other is the Logitech HD Pro Webcam.
If the built in camera on your laptop is sufficient, it's generally not a good idea to rely on your computer's built-in microphone. You will typically sound muffled. Instead, consider purchasing an external microphone to capture your voice. While professional microphones can run hundreds of dollars, I've been pleased with the sound quality generated by my new Samsun Go Mic, which only costs around $40.
Switch it up
You can record your voice over a PowerPoint, or you can record just you talking… Or, you can do the next best thing: Switch it up, as you’re conveying your message.
There are many tools that allow you to record a video of yourself (many of which also include the option of recording your slides. I often use TechSmith’s SnagIt for the more simple videos I create, while TechSmith’s Camtasia works great for pieces that are a bit more complex.
If you’re going to record a video of just you, have a couple of props you can hold up to change people’s focus. My husband once used a few of our son’s toys to illustrate his points in a video and people still remember the examples he used today.
If you want to record your slides, consider switching it up some of the time and just talking to the camera with your face filling the whole screen at some points.
Keep it short
It is no accident that TED talks have become as popular as they are. Most of us have ridiculously short attention spans when we are on the internet.
There’s no hard-and-fast rule, but if you can say something in less than three minutes, keep yourself limited to that. The absolute longest I ever allow myself to go is 20 minutes in a single video, but I usually feel like I’ve failed in some way when mine turn out to be that long.
Express yourself
Think about creating some kind of a memory with your video and presenting an openness to your students that will help them feel more comfortable in approaching you.
If you make a mistake, you can go back and correct it, but you also might choose to laugh at yourself a little and show that you’re not afraid of a little failure on the way to learning… just like you’re encouraging them not to fear failure.
You can even consider building in a sense of the unexpected and plan out, in advance, how to capture your students’ imagination. I’ll still never forget this math professor from Biola University and his April Fools’ prank.
Experiment
Finally, instead of spending 20 hours creating what you perceive will be the best videos anyone has ever seen, spend 20 minutes creating a single video that explains a complex topic your students often have trouble understanding.
Better yet, leverage the open access resources (OAR) that are out there for explaining complex topics and keep your video projects as a way of authentically connecting with your students in more informal ways.
What advice do you have for people who are fearful of creating videos for their classes?


This is so helpful. I especially like the way you encourage us to start simply. I’m a bit of an electronic toy geek (hi!) but have avoiding screen casting because I hated the idea of videoing myself so was just making do with recording over powerpoints.
Listening to your podcast and also looking back on my online course this summer, I realized how dull that had to be for my viewer, plus I wanted to do some step-by-step walkthroughs. Anyway, I jumped in and bought Screenflow. I’m playing with it, but so far have not tried doing anything more than recording either myself or the screen. I was feeling guilty for not being more adventurous but your post makes me feel like even taking these small steps is enough, at least to start.
So thank you.
I’m so glad it was helpful. We decided to upgrade to the latest Screenflow, because of a few compelling new features… But, I’ll admit to not being as up to speed with it as I could be… It seems to be a favorite among Mac users for sure.
Bonni,
What do you to make your video universally acceptable. That is required for us now – captions or scripts, etc.
It’s not ideal, but I make use of the YouTube closed captions. While they do have some pretty bad mistakes, sometimes, I just read an article the other day that said they’ve improved by 200% in even the last year. For courses that I teach that have a greater likelihood of having individuals requiring accessibility, I do my own transcriptions. I know many institutions are now outsourcing this work to third-party providers.